How to Tie a Hair Rig!
In this guide we will show you how to tie a Hair Rig. The Hair Rig is one of the most effective yet simple Fishing Rigs you can use. It is very popular with todays fisherman and is highly likely to catch you most, if not all fish you might be targeting.
We will also show you in simple steps how to tie a Hair Rig for yourself, and also how to add bait to this Rig too.
Read on below…
What You Will Need:-
To tie your own Hair Rigs you will need:
- Braided Hooklink or Braid (We recommend a breaking strength of 15lb or above)
- Hooks (We recommend Wide Gape as they have a large eye, this makes it easier to push the Braid through)
- A Pair of Scissors
To apply bait to your Hair Rig you will need:
- A Baiting Needle
- Your Chosen Bait (Pop-ups, Pellets and Boilies are ideal for Hair Rigs)
- Boilie or Bait Stops
Check out the below links to purchase any of this equipment from OverLive so you can tie this Rig yourself…
Browse Fishing Tools for Scissors, Baiting Needles and Knot Pullers.
Browse Rigs & Rig Accessories for pre-tied Rigs and Braid.
Browse Baits for imitation baits such as fake sweetcorn and fake bread.
Step 1 - Braid Length:-


First of all, you need to grab your Braid and pull out a length of it. The length you need depends on how long you want your Rig to be. For a standard Rig, we would recommend around 30cm or 12″.
Cut your length with the scissors and put your Braid aside. You will no longer need this.
Step 2 - Starting the Overhand Knot:-


To start tying your Rig, you need to create the Hair of the Hair Rig. To do this you have to tie a Overhand Knot.
Start by creating a loop as seen in the image above.
Step 3 - Continuing the Overhand Knot:-
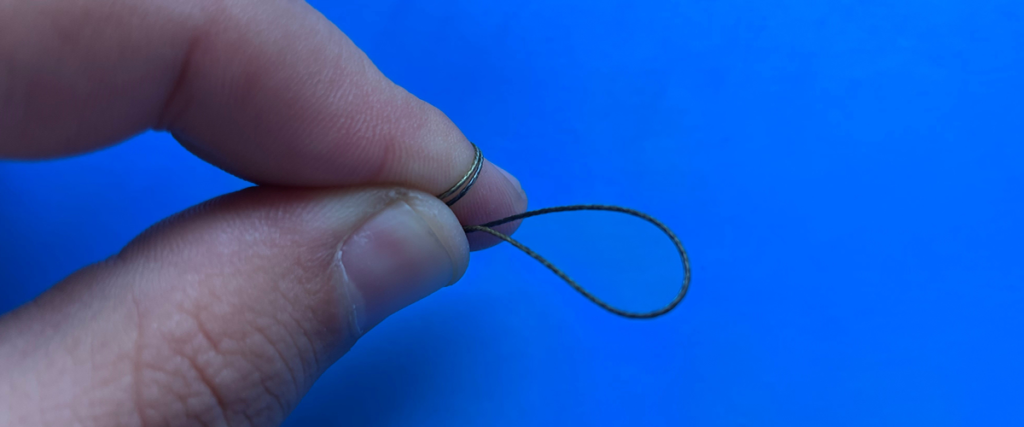

Next, wrap the loop you have created around your finger as if you are tying a basic knot.
This creates another loop.
Step 4 - Finishing the Overhand Knot:-
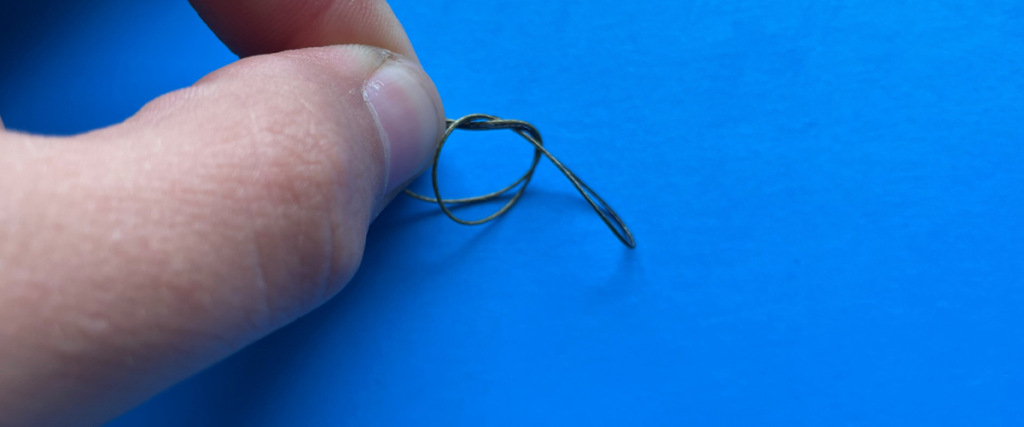

Next up, push the end through this new loop as seen in the image above.
Step 5 - The Overhand Knot:-
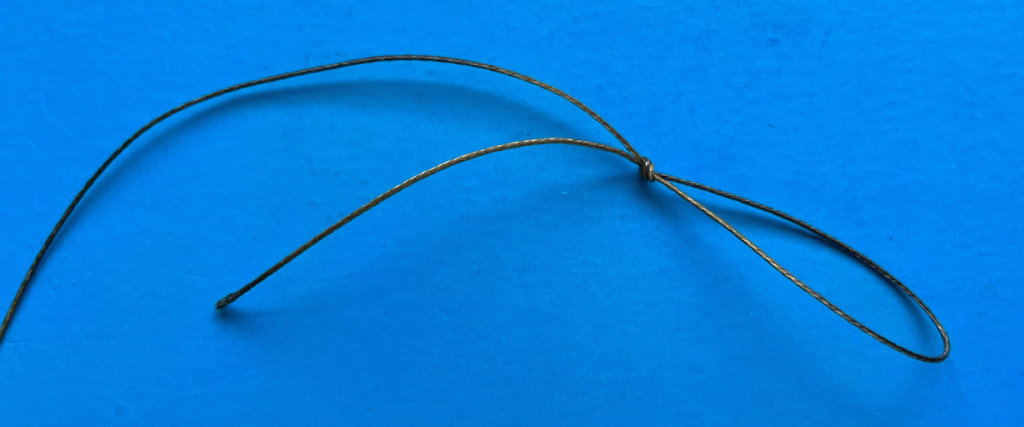

If the above steps have all been done correctly you should be left with a tight loop at the end of the Braid.
Before pulling tight, you can adjust the length of the Hair at this point by moving where the knot will be created. Depending on the bait you intend to use, adjust the size accordingly.
Always moisten the line with a little bit of water or saliva before pulling tight. This creates a tighter knot and prevents tangles when tightening.
Step 6 - Cut the Tag End:-


Once you are satisfied with your Hair length and have pulled everything nice and tight. Next up is to cut the Tag End off.
This is the excess bit of Braid, don’t cut this too short as it could untie the Rig when pulled tight later on.
Leaving a 1 or 2cm Tag End as shown in the image above should be ideal.
Step 7 - Hooking Up:-
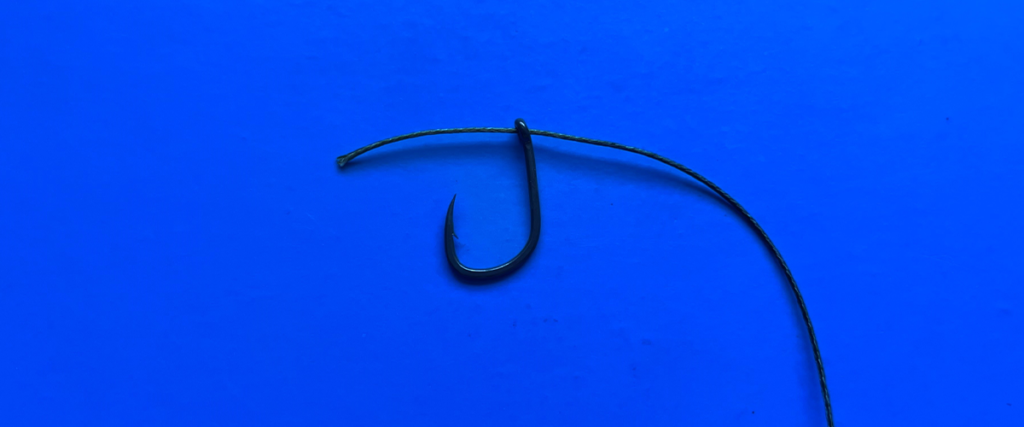

The next step is to grab your pack of Hooks. As mentioned above we recommend Wide Gape as these have a large eye, making it easier to push the braid through.
Thread the Braid through the back eye of the Hook. Ensure the Hook is facing away as shown above.
Step 8 - Hook Placement:-


Slide the Hook all the way down to the knot of the Overhand Knot you have just created.
We suggest not having the Hook right up next to the knot, having it a few centimetres above will be ideal. This makes the next step much easier.
Step 9 - Starting the Knotless Knot:-
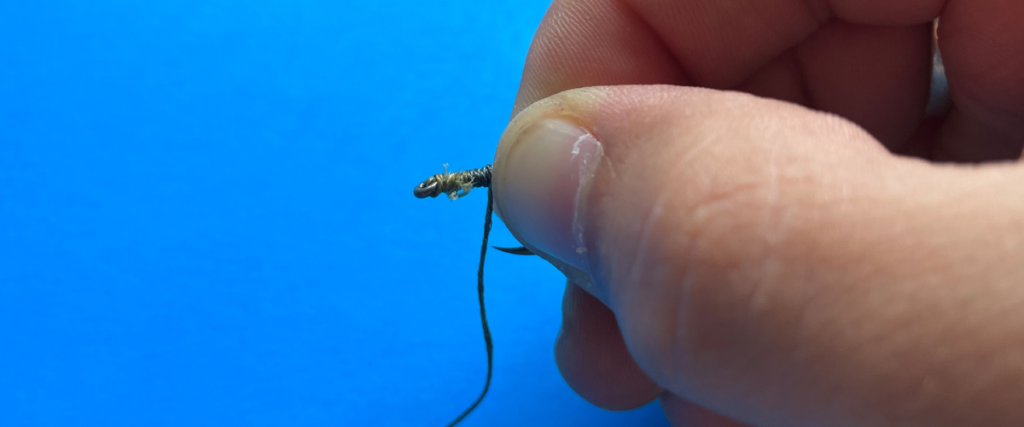

To tie the Hook onto the Braid you will next tie a Knotless Knot.
Once you have got the Hook a few centimetres above the knot of the Hair, begin wrapping the Braid around the shank of the Hook downwards toward the point.
Step 10 - The Knotless Knot:-


We usually wrap around the Hook between 6-8 times, ensuring the braid is tightly wrapped around and doesn’t come loose.
Step 11 - Tightening the Knotless Knot:-
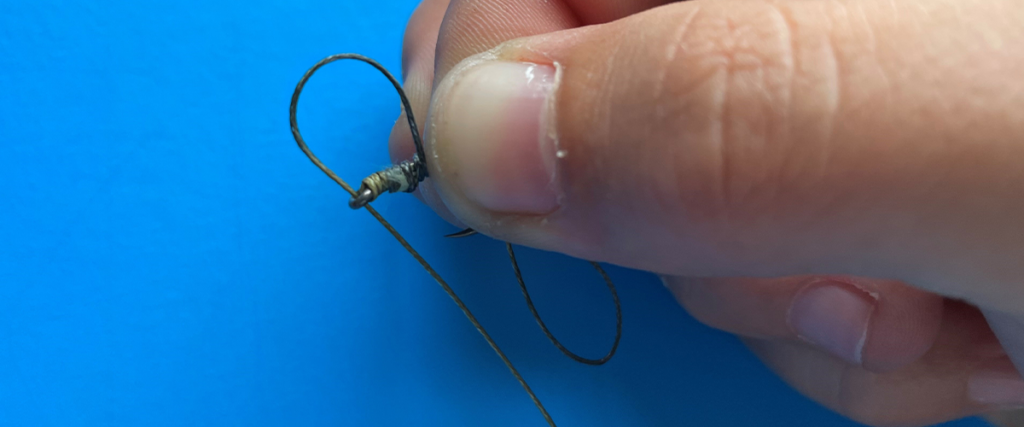

Once you have wrapped around the shank enough times, you will need to tighten the Knotless Knot.
To do this, grab the end of the Braid and feed it through the back of the eye once again. This is where the large eyed Hooks come in handy, as with small eyed Hooks it can take a few attempts to push the Braid through.
If you find the Braid fraying whilst trying to feed it back through the eye, you can snip the end off and try again. Also, moistening the frayed end with saliva can create a finer point.
Step 12 - Nearly There:-


If you have done everything correct so far you should have something that looks like the image above.
The Hair Rig is nearly complete.
Step 13 - The Finished Hair Rig:-


The last step is to tie another Overhand Knot into the end of the braid. This allows you to easily connect the Rig to a Swivel or however you will be connecting your Rig.
If you wanted to, you can tie the Braid straight onto the Swivel to save you having to do this in the future.
To learn how to add Bait to this Rig please read on. If not, feel free to browse through our website for Fishing Products in all categories. We stock items from the top brands you already know and love.
Step 14 - Adding Bait:-
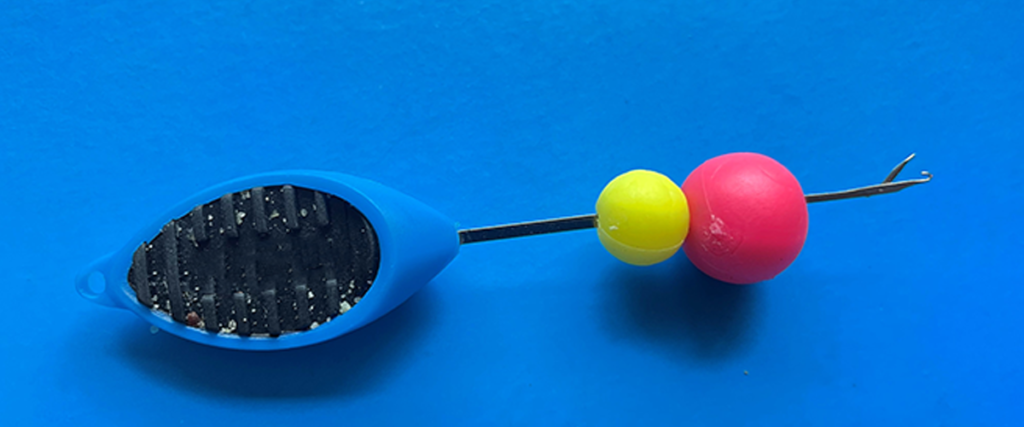

To add Bait to a Hair Rig you will need to grab your Baiting Needle.
The great thing about Hair Rigs is how versatile they are, you can use lots and lots of different baits with a Hair Rig. For this demonstration we will use Boilies.
Slide your Bait onto the Baiting Needle as shown above.
Step 15 - Onto the Hair:-
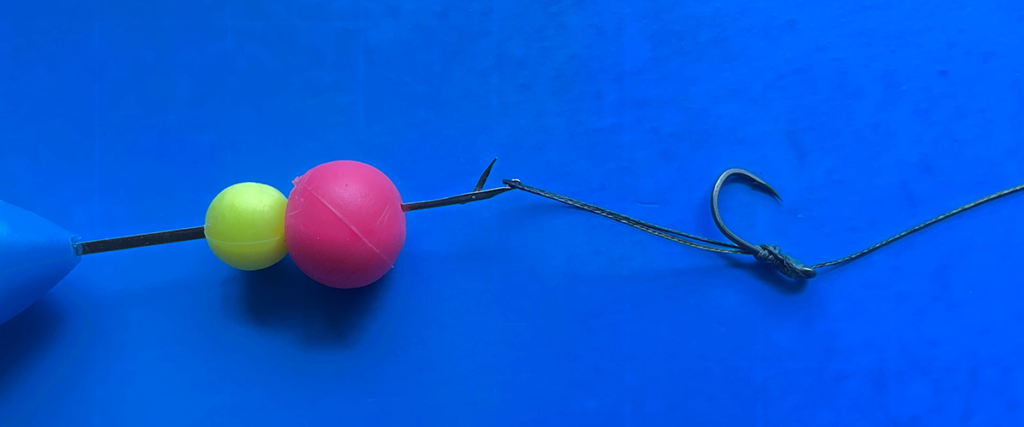

Using the hooked part of the Baiting Needle, hook onto the end of the Hair and simply slide your chosen bait off the Needle and onto the Hair.
Step 16 - Ready to Fish:-
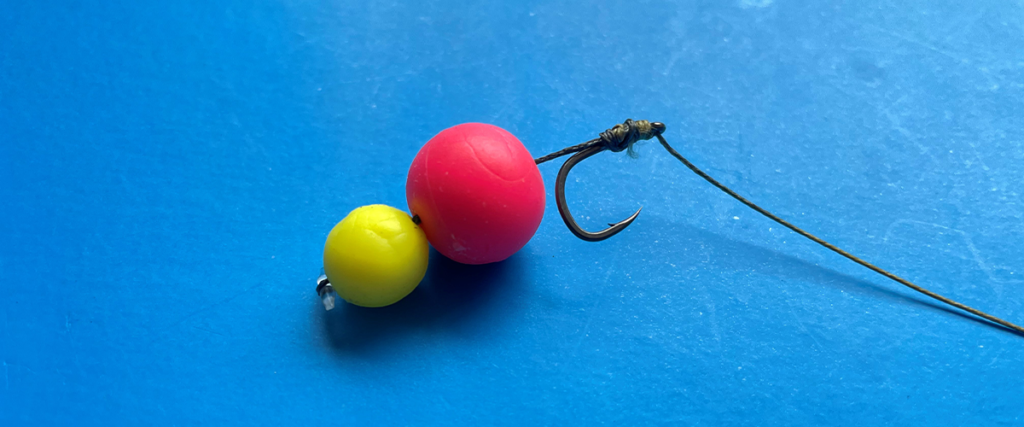

The final step is to grab your Boilie/Bait Stops and place one behind the last Boilie on the Hair.
This prevents the bait sliding off whilst casting or if a fish manages to pull the Bait off without getting hold of the Hook.
Once this is done, you’re finished! You are now ready to get out there and fish. The Hair Rig is one of the most popular Rigs out there because it just works. You will not be disappointed in the results.
Thanks for checking out our Guide on How to Tie a Hair Rig.
Check out the below links so you can purchase the equipment needed to tie this Rig.
Browse Fishing Tools for Scissors, Baiting Needles and Knot Pullers.
Browse Rigs & Rig Accessories for pre-tied Rigs and Braid.
Browse Baits for imitation baits such as fake sweetcorn and fake bread.
